

Maven Resource Blog
How to Prepare for a Professional Roof Inspection
A professional roof inspection gives you a clear picture of your roof's condition. Learn what to expect, how to prepare, and how to read the report.
Book a free roof inspection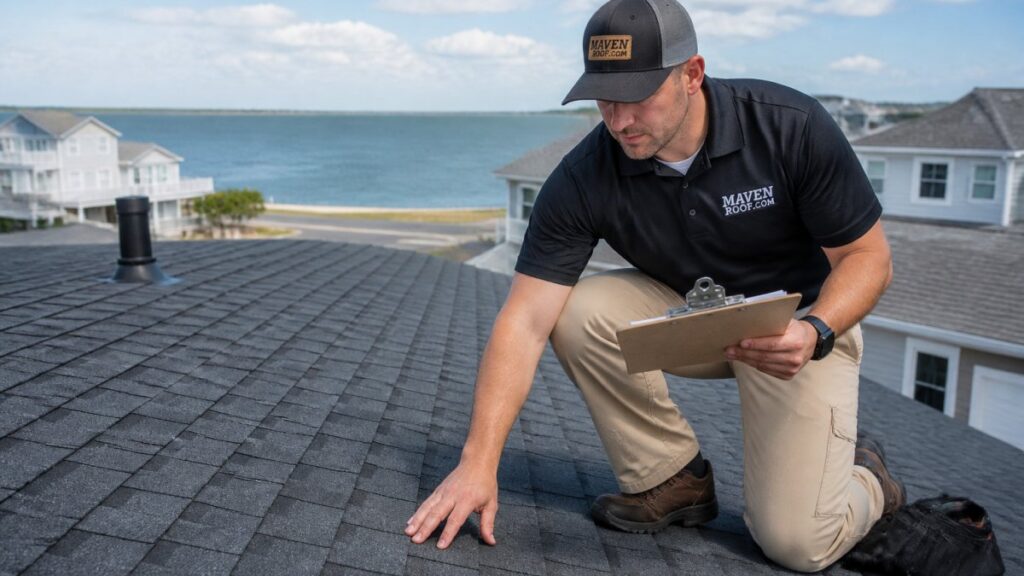
Last Updated: November 1, 2026
Quick Summary
A professional roof inspection is a documented, top-to-bottom assessment of your roof’s surface, flashing, attic, and drainage, performed by a trained inspector. Homeowners schedule one for age, storm aftermath, leaks or stains, preventive maintenance, or a real estate transaction. You receive a written report with photos and findings ranked by severity.
- Inspectors check shingles, flashing, penetrations, gutters, attic, ventilation, and drainage as one system.
- Before the visit, write down leaks or stains with dates and clear attic access.
- Ask who employs the inspector, what credentials they hold, and whether they profit from findings.
- After a storm, inspect before filing a claim so damage is documented while fresh.
- Read the report by severity: Priority items drive the timeline, Monitor and Maintenance items can wait.
Table of Contents
- Why Homeowners Schedule a Professional Roof Inspection
- What Does a Roof Inspection Include?
- Your Roof Inspection Checklist for Homeowners
- How to Verify Inspector Qualifications and Independence
- Scheduling a Roof Inspection After a Storm
- How to Read Your Roof Inspection Report
- Repair vs. Replacement: Turning Findings into a Plan
- Book Your Free Roof Inspection
- Frequently Asked Questions
Why Homeowners Schedule a Professional Roof Inspection
A professional roof inspection for homeowners is a documented, top-to-bottom assessment of your roof’s condition, performed by a trained inspector who checks the surface, flashing, attic, and drainage.
At Maven Roofing, we see the same triggers again and again. A stain spreads across a ceiling. A neighbor gets a new roof and it makes you look at yours. A home sale looms.
A good inspection is information, and information is what lets you decide.
The most common reasons homeowners schedule one:
- Age. An asphalt roof near the end of its service life needs eyes on it, not guesses.
- Storm aftermath. Wind and hail leave damage you cannot see from the driveway.
- A leak or stain. Water shows up late, long after the entry point opened.
- Preventive maintenance. Small issues caught early stay small.
- A real estate transaction. Buyers and sellers both want the roof condition in writing.
Keep reading, because the next section explains exactly what an inspector looks at, and what you should expect to see in the report.
What Does a Roof Inspection Include?
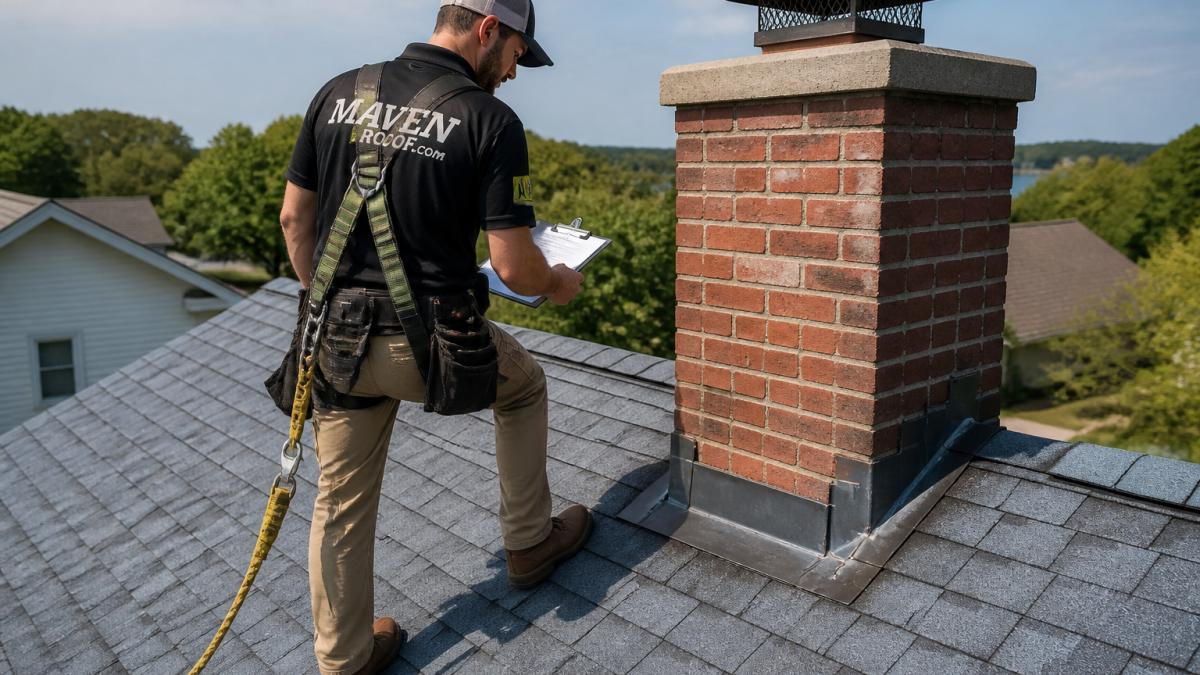
A roof inspection includes a visual assessment of the roof surface, flashing, penetrations, gutters, and attic, followed by a written report with photos and findings. The inspector checks how the roofing system works as a whole, not just whether shingles look worn.
Exterior Roof Surface and Flashing
The exterior pass covers the shingles, seams, ridge, and valleys. Inspectors look for cracked or missing shingles, lifted edges, granule loss, and rusted or loose fasteners.
Flashing gets close attention. That’s the metal around chimneys, vents, skylights, and wall junctions, and it’s where a lot of leaks start.
Gutters and downspouts matter too. If water can’t drain, it backs up under the edges and rots the wood beneath.
Attic, Ventilation, and Moisture Checks
Inside the attic, the inspector looks for moisture, staining, and daylight coming through the deck. Ventilation gets checked because poor airflow traps heat and damp air, which shortens roof lifespan.
Signs of trouble include:
- Dark staining or water marks on rafters
- Soft or sagging decking
- Rusted nails
- Mold or musty smells
- Blocked soffit or ridge vents
The attic pass is also where the inspector confirms whether an exterior finding is cosmetic or structural. A lifted shingle with a dry, sound deck beneath it is a different problem from a lifted shingle with staining on the rafter below.
Drainage, Penetrations, and the Roof-to-Wall Connection
Drainage is its own pass.
The roof-to-wall connection is where the roof meets the house, and it’s easy to miss from the ground. The inspector checks step flashing, counter-flashing, and the condition of the wall covering above the roofline.
If you want to spot storm damage yourself before the visit, our guide on how to identify roof storm damage walks through the visible warning signs.
Your Roof Inspection Checklist for Homeowners
A roof inspection checklist for homeowners should cover what to prepare, what to ask, and what to confirm before anyone climbs a ladder. Use this one.
Before the visit:
- Write down every leak, stain, or draft you’ve noticed, with dates
- Note the roof’s age and any past repairs
- Clear access to the attic
- Move vehicles away from the work area
- Gather any insurance paperwork if a storm is involved
During the visit:
- Confirm the inspector will photograph problem areas
- Ask how they access the roof and what safety steps they take
- Ask what they are checking and why
After the visit:
- Get the written report
- Confirm findings are ranked by severity
- Ask what can wait and what cannot
One honest warning: watch out for anyone who offers a full replacement before they’ve been in the attic or on the roof. A real assessment takes time.
How to Verify Inspector Qualifications and Independence
Verify qualifications by asking three questions: who employs the inspector, what credentials they hold, and whether they profit from the findings. A qualified inspector should answer all three without hesitation.
Independence is the harder one. If the same company inspects and sells the repair, ask how they separate the two. Many contractors do both, and that’s normal, but a good one will tell you plainly when a repair is optional.
Book Your Roof Inspection Online →
What to ask:
- Are you licensed and insured?
- What certifications does the company hold?
- Will you put the findings in writing?
- What happens if the report says no work is needed?
For a deeper walkthrough of checking credentials, see our guide on how to verify roofing certifications before you hire.
Scheduling a Roof Inspection After a Storm
Schedule a roof inspection after a storm when you see missing shingles, granules in the gutters, dents on metal, or interior staining. Wind and hail damage often hides in plain sight, and it rarely fixes itself.
Timing matters. Inspect before you file a claim, not after, so the report documents the damage while it’s fresh. Photographs taken early carry more weight than ones taken weeks later.
Documenting Damage for Insurance
Documentation should be thorough: photos of every affected slope, notes on interior stains, and dates of the storm. A written report with photo documentation gives your insurer something concrete to review.
We help homeowners with this step and coordinate with adjusters when appropriate. If you’re unsure whether a repair is covered, our page on whether roof repair is covered by insurance explains how claims generally work.
How to Read Your Roof Inspection Report
A roof inspection report is a written record of findings, ranked by severity, with photos and recommendations. Read it in order of severity, not in the order it’s printed. The report is the product you paid for, or, with a free inspection, the product you should still expect, so it’s worth knowing what a useful one contains.
What a Solid Report Includes
- Findings. What was observed, where, and how bad it is.
- Photo documentation. Pictures of each problem area, ideally with a wider shot for context and a close-up for detail.
- Repair priorities. What needs attention now, what can wait.
- Recommendations. Repair, monitor, or replace.
- Limitations. What the inspector could not see or access, for example, areas hidden under snow, heavy debris, or a low-slope section that wasn’t safely walkable.
Watch for reports with no photos or vague language like “roof shows wear.” That tells you nothing you can act on. A useful finding names the location (“north slope, second course above the valley”), the condition (“lifted shingle edge with exposed fastener”), and the consequence (“water entry likely at the next wind-driven rain”).
A Practical Severity Model
Most inspectors sort findings into three practical tiers, even if the labels differ:
| Tier | What it means | Typical response |
|---|---|---|
| Priority | Active or likely water entry, safety concern, or storm damage that may be time-sensitive for insurance | Address before the next significant rain; document now |
| Monitor | Wear or minor defect that isn’t leaking yet | Re-check at the next inspection or after a major storm |
| Maintenance | Cosmetic or housekeeping items, debris, minor sealant wear, gutter cleaning | Handle during routine maintenance |
The tier matters more than the count. A report with three Priority items is a more urgent document than one with fifteen Monitor items, even though the second report looks longer.
Turning the Report into a Plan
Read the report once for the findings, then again for the recommendations. Ask three questions:
- Which findings are active leaks or likely leaks? Those drive the timeline.
- Which findings are age-related and expected? Those inform the replacement conversation, not the repair one.
- Which findings are maintenance? Those are the ones a homeowner can schedule on their own terms.
If the report recommends replacement, ask the inspector to point to the specific findings that support it, widespread granule loss, multiple failing slopes, repeated leaks in different spots, or decking condition. If the report recommends repair, ask what the repair is expected to accomplish and how the area will be re-checked.
Keep the report and its photos. If a storm or insurance question comes up later, a dated report with photo documentation is far more useful than a memory of what the roof looked like.
What to Do If the Report Is Unclear
A report you can’t act on isn’t finished. Ask for clarification on any finding that doesn’t name a location, a condition, and a recommended next step. A reputable inspector will walk you through it. If the report was produced by a company that also sells the repair, ask them to separate the inspection findings from the sales recommendation, the findings should stand on their own.
When you’re ready for a written assessment with photos and prioritized findings, schedule your free roof inspection with us.
Repair vs. Replacement: Turning Findings into a Plan
Repair is the right call when damage is isolated and the roof has life left. Replacement makes sense when problems are widespread, the roof is near the end of its lifespan, or repeated leaks keep returning.
Use the findings, not the sales pitch. If the report lists one failed flashing detail and the shingles are otherwise sound, repair it. If it lists multiple failing areas across several slopes, replacement may cost less over time.
| Finding | Likely Path | Why |
|---|---|---|
| One failed flashing detail | Repair | Isolated, low-cost fix |
| Scattered missing shingles after wind | Repair | Localized damage |
| Granule loss across all slopes | Replacement | Surface is failing broadly |
| Repeated leaks in different spots | Replacement | System is near end of life |
| Storm damage on one slope | Repair, if decking is sound | Damage is contained |
For a fuller comparison, our roof replacement vs. minor repair decision guide lays out the trade-offs.
Book Your Free Roof Inspection
The hardest part of roof care is not the repair. It’s not knowing what’s happening up there.
If your roof is aging, storm-damaged, or you simply don’t know its condition, get a professional assessment before small issues become costly damage. Maven Roofing is veteran-owned, and we offer free roof inspections with no-pressure recommendations. We work with asphalt and GAF shingles, F-Wave synthetic shingles, standing-seam metal, and flat roofing systems, and we handle roof repair, replacement, cleaning, and rejuvenation across Eastern North Carolina.
Get started with Maven Roofing and schedule your free roof inspection today.
Frequently Asked Questions
How much does a professional roof inspection cost?
Pricing varies by provider, roof size, and whether the inspection is tied to a repair or replacement quote. Many contractors, including Maven Roofing, offer free roof inspections for homeowners. Ask upfront whether any fee applies and what the inspection covers so there are no surprises. A free inspection should still include a written report and photo documentation of findings.
When should homeowners schedule a professional roof inspection?
Schedule one annually, after any major storm, and before buying or selling a home. If your roof is nearing the end of its expected lifespan or you have noticed granules in the gutters, ceiling stains, or missing shingles, book sooner. In coastal Eastern North Carolina, wind-driven rain and salt air make routine inspections especially worthwhile.
Can a roof inspection identify leaks before they appear indoors?
Often, yes. An inspector checks flashing, penetrations, attic sheathing, and ventilation for early signs of moisture before water reaches your ceiling. Catching a small leak early usually means a simpler repair instead of structural damage. That is why a roof inspection checklist for homeowners should include an attic walk-through, not just a look at the shingles from the ground.
Should I get a roof inspection after a storm?
Yes. Wind and hail can loosen shingles, dent flashing, and open seams without obvious indoor leaks. A roof inspection after a storm documents the damage with photos and a written report, which helps if you file an insurance claim. Call a qualified inspector before you climb up yourself, since wet or damaged roofs are unsafe to walk.
