

Maven Resource Blog
What to Do if Your House Is Damaged by a Storm
Immediate steps after storm damage: stay safe, inspect and document, contact insurance, and prevent further damage. Complete guide for homeowners.
Book a free roof inspection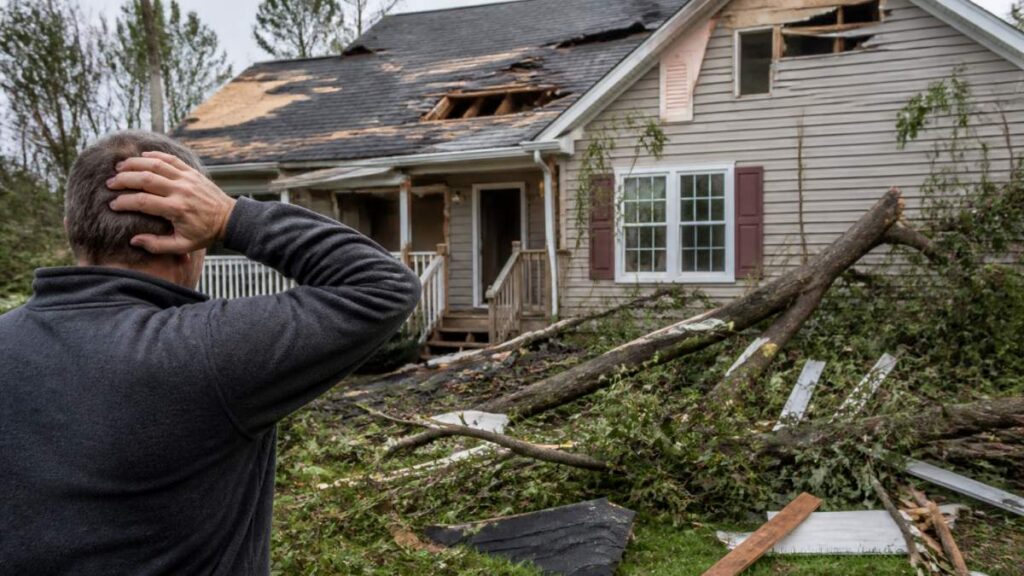
Table of Contents
- Step 1: Ensure Personal Safety and Check for Immediate Hazards
- Step 2: How to Document Storm Damage for Your Records
- Step 3: File Your Storm Damage Insurance Claim
- Step 4: Temporary Roof Repairs After a Storm
- Step 5: Understanding the Homeowners Insurance Storm Damage Inspection
- Step 6: Prevent Further Damage and Assess Repair Needs
- Step 7: Hiring Contractors and Moving Forward with Repairs
- What Not to Do Before Your Insurer Inspects Your Home
- Frequently Asked Questions
Last Updated: October 8, 2026
Step 1: Ensure Personal Safety and Check for Immediate Hazards
Before entering your home after a storm, assess the immediate danger.
Look for these hazards right away:
- Downed power lines. Stay at least 10 feet away and assume any line on the ground is live. Call your utility company.
- Exposed wiring. Do not touch wires hanging from your roof or walls. Keep family and pets away.
- Gas leaks. Natural gas smells like rotten eggs. Leave immediately and call 911 or your gas company.
If you see major damage, wait for emergency services to clear the area. If you smell gas or see electrical hazards, evacuate and wait for professionals.
Once the area is safe, what to do if your house is damaged by a storm becomes clear: document, report, and protect.
Never assume a power line is safe just because it is not sparking. All downed lines should be treated as live electrical hazards. Contact your utility company before touching anything.
Step 2: How to Document Storm Damage for Your Records
Your insurer will need photos, videos, and a detailed list of what was damaged, so start as soon as it is safe.
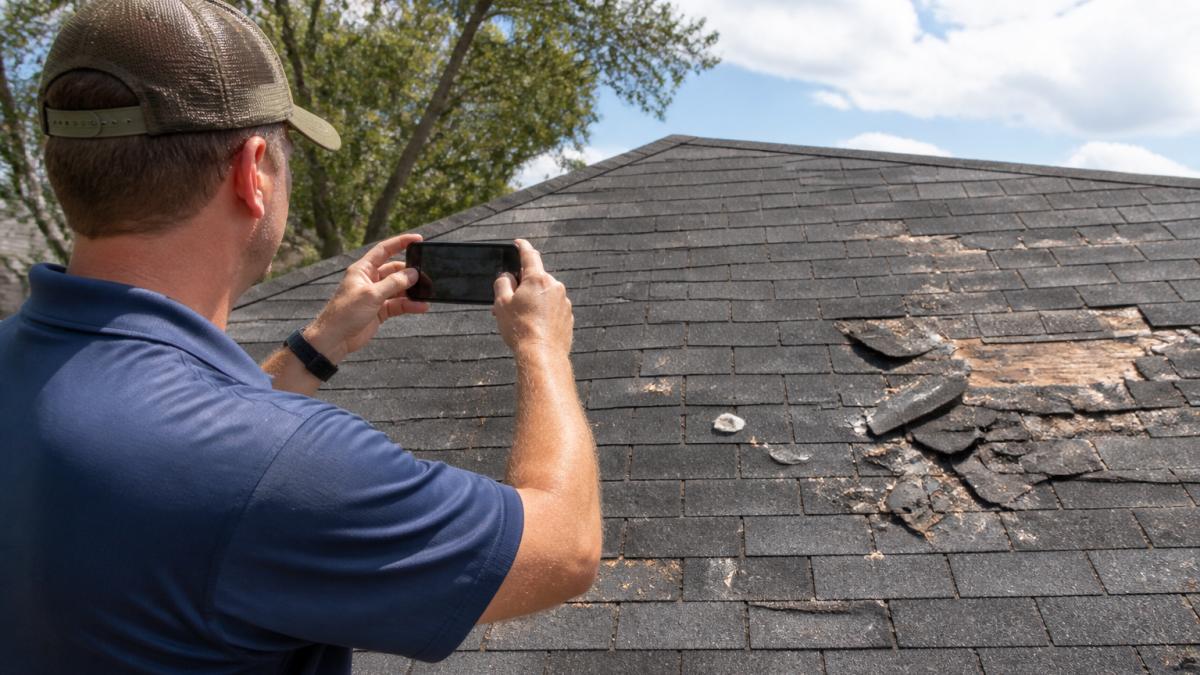
Take photos and videos of:
- Roof damage. Missing shingles, dents, holes, or debris. Photograph from multiple angles if you can safely access a ladder.
- Windows and doors. Broken glass, bent frames, or damaged seals.
- Gutters and downspouts. Dents, separation, or debris buildup.
Create a written inventory while the damage is fresh: each item, the damage, its age, and brand names or purchase prices.
Store photos and videos in multiple places, cloud storage, emailed copies, and originals on your phone or camera.
Clear photos help your adjuster assess what happened and prevent disputes later.
Take photos in good lighting, ideally in the morning or afternoon. Avoid shadows that hide damage details. Include wide shots and close-ups of the same damaged area.
Step 3: File Your Storm Damage Insurance Claim
Contact your insurance company as soon as you safely can. Most policies require prompt notification.
Here is what to do:
- Call your insurer’s claims line. Have your policy number ready and describe the damage briefly. They will assign a claim number.
- Write down the claim number. Use it for all correspondence about this claim.
- Ask when an adjuster will inspect. Get a date and time window.
- Request a copy of your policy. Review what is covered and your deductible.
- Take photos immediately. Send them if your insurer requests them before the inspection.
- Keep receipts for emergency repairs. Save all receipts and invoices for temporary fixes.
Your insurer will send an adjuster to inspect the damage and estimate repair costs; that report becomes the basis for your payout.
Be present during the inspection. Show the adjuster all damage, answer honestly, and point out anything they might miss, especially on the roof or in the attic.
Filing your claim quickly protects your right to coverage. Delays give the insurance company reasons to deny or reduce your payout.
Step 4: Temporary Roof Repairs After a Storm
While you wait for permanent repairs, temporary fixes prevent further damage, a small leak becomes a major problem in days.
Temporary repairs you can make:
- Tarping. Cover holes with heavy plastic sheeting or tarps, secured with nails or rope so wind cannot tear them loose.
- Patching holes. Use roofing cement or temporary patch kits. These buy you time, not a permanent fix.
- Clearing debris. Remove branches, shingles, and debris from the roof and gutters; clogged gutters cause water to back up into your home.
Do not attempt major roof work yourself; climbing a ladder on a damaged roof is dangerous. Temporary fixes last days or weeks, not months.
Call a professional roofer for permanent repairs. At Maven Roofing, we specialize in storm damage assessment and repairs, inspect your roof, provide estimates, and work with insurance companies to simplify claims.
Working on a damaged roof is extremely hazardous. Wet surfaces are slippery. Structural damage may not be visible. Always hire a licensed professional for permanent repairs.
Step 5: Understanding the Homeowners Insurance Storm Damage Inspection
The adjuster’s inspection is the single most important event in your claim: what they write down becomes the number your insurer pays. Most homeowners never learn what was measured, excluded, or challengeable, and that is where claims quietly go sideways.
What actually happens during the inspection
- The adjuster measures and photographs. They document roof squares, slopes, and damaged areas, plus interior rooms, ceilings, and contents. Ask to see what they photograph.
- They apply your policy’s coverage terms. Line items get excluded here, matching, code upgrades, and certain interior finishes are common disagreements.
- They write a scope of loss and an estimate. This working document drives your payout.
- They submit the report to the carrier. You are entitled to a copy, request it in writing.
Be present, and bring your own evidence
Walk the property with the adjuster and point out every area you documented in Step 2, with your photo inventory, receipts, and contractor estimates on hand. Adjusters juggle multiple claims after a major storm and can miss attic staining, hairline ceiling cracks, or secondary water intrusion, your photos are the tiebreaker.
When you disagree with the estimate
A low estimate is not the final word. Use these escalation paths in order:
Book Your Free Roof Inspection Online →
- Request a re-inspection. Ask the carrier in writing for a second adjuster visit and cite the specific line items you dispute.
- Submit a competing contractor estimate. A licensed contractor’s itemized estimate in the same scope format is the strongest counter-evidence.
- Invoke the appraisal clause. Many policies include an appraisal provision for disputes over the amount of loss: each side selects an appraiser, and the two choose an umpire. This is a policy right, not a lawsuit.
If your claim is denied or underpaid
Read the denial letter and identify the stated reason, usually a coverage interpretation, missed deadline, or documentation gap. Respond in writing, cite your policy language, and attach your evidence. If the carrier stands firm, the department of insurance complaint and appraisal clause remain available; for large disputes, consult a policyholder attorney who handles first-party property claims.
You are not required to accept the first estimate. Re-inspection, a competing contractor estimate, the appraisal clause, and a state insurance department complaint are all standard, policy-based tools, use them in that order.
Timeline expectations
A straightforward inspection is often scheduled within days to a couple of weeks after you file, depending on storm volume. The written estimate usually follows within one to two weeks of the visit. In a widespread event, both windows stretch. Keep a dated log of every call, email, and visit so you can show the carrier’s own timeline if the claim stalls.
Step 6: Prevent Further Damage and Assess Repair Needs
Most homeowners policies require reasonable steps to prevent further damage after a covered loss, and your first 24 to 72 hours matter most.
The first 24-72 hours: a chronological checklist
Hours 0-24
- Keep people and pets out of rooms with sagging ceilings, standing water near outlets, or visible structural movement.
- Shut off gas and power at the main if you smell gas or see exposed wiring, and only if you can reach the shutoffs safely.
- Move undamaged belongings off the floor and elevate furniture on blocks or plastic.
Hours 24-72
- Remove standing water with a wet/dry vacuum or pump if safe.
- Pull up saturated carpet and padding where water is clean; leave floodwater-contaminated materials for professionals.
- Remove wet drywall and insulation only if you can do so without touching electrical components.
Safe cleanup and health risks
Storm cleanup carries health hazards that are easy to underestimate:
- Contaminated water. Floodwater can carry sewage and bacteria. Wear waterproof boots, gloves, and eye protection, wash hands thoroughly, and never use a household vacuum on floodwater.
- Mold. Mold can begin growing within 24 to 48 hours on wet materials. Assume anything wet more than two days is contaminated and needs a qualified remediator.
- Generators. Never run a generator indoors, in a garage, or near a window or vent, carbon monoxide is odorless and lethal (the EPA). Place it outdoors, well away from openings.
Prioritize repairs by risk, not by visibility
- Roof and structural. Anything letting water in or threatening collapse comes first.
- Windows and doors. Board or seal openings to keep weather and pests out.
- Water intrusion and mold. Dry and remediate before rebuilding, rebuilding over wet materials traps moisture and mold.
- Electrical and plumbing. Do not restore power to water-damaged circuits until a licensed electrician inspects them.
Keep a mitigation log
Write down every action, the date and time, and what it cost. This log, paired with your receipts, supports reimbursement for mitigation expenses that carriers otherwise overlook.
Do not make permanent repairs before your insurer inspects. Temporary mitigation is expected and reimbursable; permanent work done before approval can jeopardize your claim.
Step 7: Hiring Contractors and Moving Forward with Repairs
A poor repair leaves you vulnerable to future damage; quality work protects your home investment.
Finding contractors:
- Get multiple estimates. Contact at least three contractors and compare assessments and prices.
- Check credentials. Verify they are licensed, insured, and bonded, and ask for references from past storm damage repairs.
- Ask about insurance coordination. Some contractors work directly with insurers, which simplifies payment.
Questions to ask contractors:
- What is your experience with storm damage repairs?
- Do you carry liability insurance and workers’ compensation?
- Can you provide references from recent storm damage jobs?
- How do you handle insurance claims?
Maven Roofing brings veteran expertise to storm damage repairs, understands coastal weather challenges, provides free roof inspections, and works with your insurance company to ensure fair claims processing and quality repairs.
Avoid contractors who pressure you to sign immediately, demand cash payments, offer to “handle the insurance company” suspiciously, quote prices far below other estimates, or have no local references or online reviews.
What Not to Do Before Your Insurer Inspects Your Home
Avoid these actions during the inspection process.
Do not:
- Throw away damaged materials. Keep them for the adjuster to inspect, they prove what was damaged.
- Begin major repairs before approval. Your insurer may deny coverage if you repair before inspection. Get written approval first.
- Exaggerate damage in your claim. Dishonesty voids your policy. Stick to what actually happened.
- Ignore the inspection appointment. Missing the adjuster’s visit delays your claim. Reschedule if you cannot be present.
The sooner you file and complete the inspection, the sooner permanent repairs can begin.
Frequently Asked Questions
What should I do first if a storm damages my house?
Prioritize personal safety: evacuate immediately if your home is unsafe, avoid downed power lines and exposed wiring, and check for gas leaks by smell. Once safe, document all visible damage with photographs and videos before touching anything. Contact your homeowners insurance company within 24 hours to begin the claim process. Do not attempt major cleanup or repairs until your insurer has inspected the property.
How do I document storm damage for an insurance claim?
Take clear photographs and videos of all damaged areas from multiple angles, including close-ups and wide shots. Create a detailed written inventory listing damaged belongings, their approximate age, and replacement value. Keep all receipts for emergency repairs or temporary fixes. Document the date, time, and weather conditions. Store all documentation in a safe location and provide copies to your insurance adjuster.
Should I make temporary roof repairs before the insurance adjuster visits?
Yes, you can and should take reasonable steps to prevent further damage, such as tarping a leaking roof or boarding broken windows. However, avoid permanent repairs until after the adjuster inspects. Document all temporary repairs with photos and keep receipts. Inform your insurance company about emergency measures you’ve taken, this protects your claim and shows you acted responsibly to mitigate damage.
What happens during a homeowners insurance storm damage inspection?
The claims adjuster will inspect visible damage to your roof, windows, structure, and belongings. They assess repair costs and determine your coverage payout based on your policy. Be present during the inspection, provide documentation you’ve gathered, and ask questions about coverage decisions. If you disagree with the assessment, you have the right to hire an independent adjuster or dispute the claim.
Storm damage is stressful, but following these steps protects your home and your claim. Start with safety, document everything, notify your insurance company promptly, and prevent further damage while repairs are pending. At Maven Roofing, we help homeowners navigate the entire recovery process. Our free roof inspections identify all damage and guide your next steps. Contact us to schedule your inspection and begin protecting your home investment with professional storm damage repairs.