

Maven Resource Blog
Coastal Home Roof Replacement Guide: What to Know
Coastal roof replacement guide for salt air, storms, and insurance. Learn signs, materials, timeline, and inspection steps before you hire a contractor.
Book a free roof inspection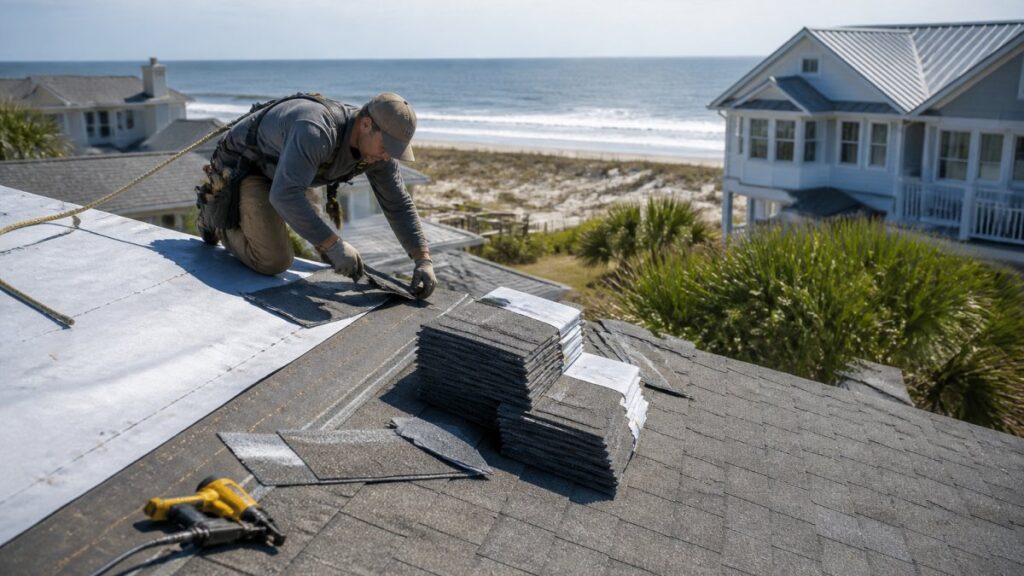
Table of Contents
- Coastal Roof Replacement Signs: When Repair Stops Working
- How Salt Air and Wind Uplift Shorten Roof Lifespan
- Coastal Roofing Materials: Metal, Asphalt, and Resin Options
- Roof Replacement Timeline: From Inspection to Final Walkthrough
- Permits, Wind-Load Codes, and Insurance Requirements
- Roof Inspection Checklist for Coastal Homes
- Choosing a Contractor and Understanding Warranties
- Frequently Asked Questions
Last Updated: October 13, 2026
Coastal Roof Replacement Signs: When Repair Stops Working
A coastal home roof replacement guide starts with one honest question: is repair still viable, or are you funding a losing battle?
Salt air accelerates decay in ways inland roofs never experience. A roof that would last 25 years in a dry climate can show its age far sooner when it faces salt spray, storm season after storm season.
Here’s the practical test.
- Three or more repairs on the same slope in two years
- Visible granule accumulation in gutters after rain
- Rusted or corroded fasteners, flashing, or vents
Patching a roof that has already lost its granule layer or shows widespread fastener corrosion usually fails within one storm season. The money spent on repeated repairs is money not spent on the replacement that actually solves the problem.
How Salt Air and Wind Uplift Shorten Roof Lifespan
Salt spray is the quiet killer.
Wind uplift is the second force. The FEMA guidance on wind-resistant roof systems explains how continuous load paths and proper fastening matter more than the surface material alone.
The result is a shorter effective lifespan. A roof that might serve 25 years inland can need replacement years earlier when salt corrosion and uplift fatigue work together.
What most guides miss: the failure is rarely the shingle. It’s the assembly beneath it.
Coastal Roofing Materials: Metal, Asphalt, and Resin Options
Material choice on a coastal roof is not a single decision, it is a decision made per exposure zone.
Start by locating your roof on this rough exposure scale:
- Direct exposure, within roughly 1,000 feet of open water, or on a bluff or dune line with unobstructed onshore wind. Salt spray reaches the roof on a routine basis, not just during named storms.
- Moderate exposure, roughly 1,000 feet to one mile inland, or closer but sheltered by topography, tree canopy, or a row of buildings between you and the water.
- Sheltered coastal, beyond about a mile, or close but blocked from prevailing onshore wind. Salt is present but diluted; wind and rain are still the dominant forces.
Roof design matters as much as distance. Low-slope roofs drain more slowly and hold salt-laden moisture longer. Complex roofs with many valleys, dormers, and penetrations create more places for corrosion to start. Heavy shade keeps a roof damp and slows the drying that would otherwise rinse salt away.
How the Main Options Compare
| Material | Salt-Air Performance | Typical Service Life (coastal) | Wind Performance | Maintenance Profile |
|---|---|---|---|---|
| Aluminum roofing | Excellent, naturally corrosion-resistant, no coating to fail | Longest of the common options | High when installed to spec | Low; occasional fastener and flashing checks |
| Standing-seam steel | Excellent with a proper metallic coating and paint system | Long | High; concealed fasteners reduce uplift points | Low; touch up paint at cut edges and scratches |
| Asphalt shingles | Moderate, depends on granule layer and fastener quality | Shortest of the four near the water | Moderate; performance depends heavily on nailing pattern | Higher; granule loss and edge wear accelerate |
| Resin tiles | Good, resists salt and impact, but fasteners and flashing still corrode | Mid-range to long | High | Low to moderate |
Two patterns are worth internalizing. First, the gap between the best and worst option widens as you get closer to the water. Inland, asphalt shingles can be a reasonable value. At direct exposure, the same shingles may need replacement years sooner, which erases the upfront savings. Second, the surface material is rarely the first thing to fail, fasteners, flashing, and edge metal usually go first, and those components are chosen separately from the panel or shingle.
Choosing by Exposure, Not by Price Tag
- Direct exposure: aluminum or standing-seam metal with corrosion-rated fasteners and stainless or coated flashing. Accept the higher upfront number; the maintenance and replacement math favors it over a full service life.
- Moderate exposure: standing-seam metal if the budget allows, or a higher-grade asphalt shingle system with upgraded underlayment and fasteners if it does not. Do not pair premium shingles with builder-grade flashing.
- Sheltered coastal: asphalt shingles remain viable, but insist on corrosion-rated fasteners and a self-adhering underlayment at eaves and valleys. The upgrade cost is small relative to the protection.
The Lifecycle Question Competitors Skip
A roof’s real cost is not the installed number, it is the installed number plus every repair, every premature replacement, and every insurance conversation over the years you own the home.
When you compare quotes, ask each contractor for the same three things: the expected service life of the proposed system at your specific exposure level, the components included below the surface material, and what the manufacturer’s warranty excludes.
Ask your contractor what fasteners and flashing they’ll use, not just what shingle or panel. On coastal roofs, those hidden components are where leaks start, and they’re the first thing cheap bids cut.
Assembly Details That Decide Performance
The surface material gets the attention, but the roofing system decides whether it survives. Corrosion-resistant fasteners, proper underlayment, and correctly detailed flashing at valleys and penetrations matter as much as what’s on top.
- Corrosion-rated fasteners, not standard galvanized
- High-temp or self-adhering underlayment at eaves and valleys
- Sealed flashing at chimneys, vents, and wall junctions
A common failure pattern near the water: the panels or shingles are still serviceable, but the fasteners holding them have corroded to the point that the next wind event lifts sections of the roof.
Roof Replacement Timeline: From Inspection to Final Walkthrough
A typical coastal roof replacement runs several days from tear-off to final walkthrough, though weather and roof complexity shift that window. Here’s how we sequence it.
- Inspection and documentation – full assessment of deck, flashing, and attic
- Material selection and ordering – matching products to your exposure and roof design
- Permit filing – local requirements vary, so confirm before scheduling
- Tear-off and deck repair – removing old material and fixing rot or soft spots
- Underlayment and flashing – the water-shedding layer most homeowners never see
- Surface installation – shingles, panels, or tiles set to manufacturer spec
- Final walkthrough – cleanup, magnetic sweep for nails, and warranty paperwork
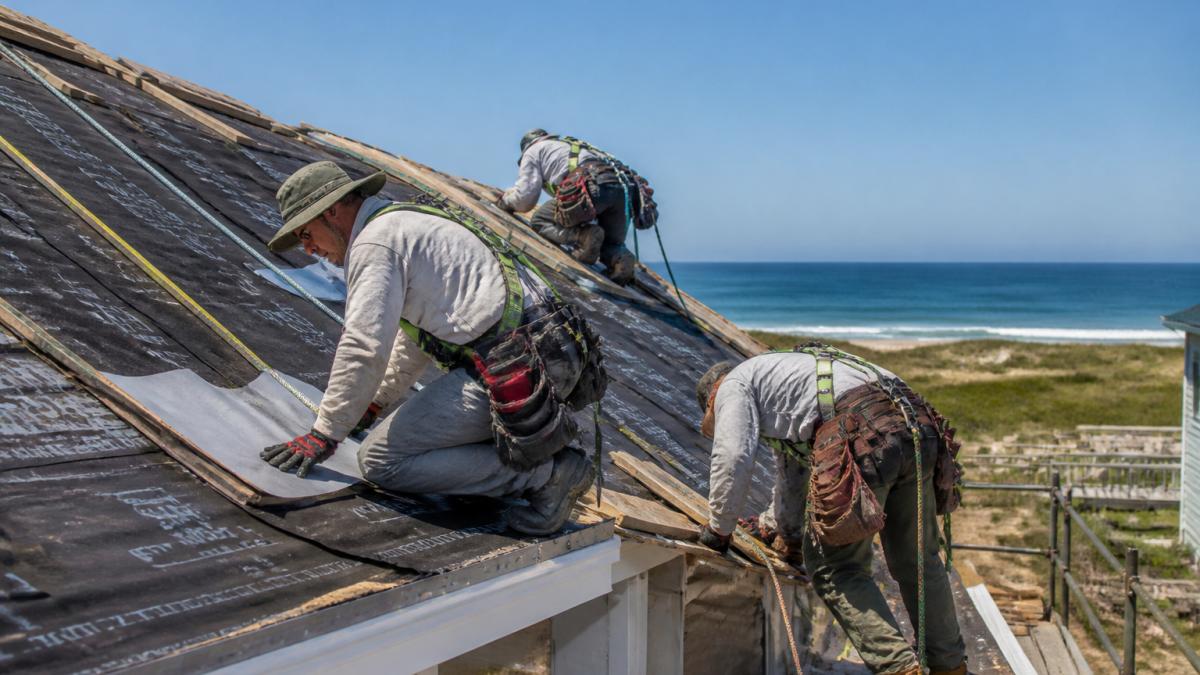
Ensuring the integrity of the roof structure during this installation phase often reveals underlying issues with exterior walls that require integrated coastal home maintenance to prevent moisture intrusion from compromising the building envelope.
Preparing Your Home and Managing Disruption
Plan for noise and limited driveway access during tear-off. Move vehicles, protect attic storage, and secure anything loose in the yard. Most crews protect landscaping with tarps, but it’s worth confirming in advance.
Permits, Wind-Load Codes, and Insurance Requirements
This is the section most coastal roofing guides skip, and it is the one that determines whether your replacement is legal, insurable, and defensible after a storm. Requirements are set locally, so no article can give you a single answer, but you can follow a repeatable process that gets you the right answer for your address.
Step 1: Identify the Code Your Jurisdiction Enforces
Most coastal jurisdictions adopt a model building code and then amend it with local wind provisions. The two names you will hear most often are the International Residential Code (IRC) and the International Building Code (IBC), both published by the International Code Council. Coastal states and counties frequently layer additional wind-borne debris requirements on top, and some enforce a separate statewide code with its own wind speed maps.
What matters for your project is the design wind speed assigned to your location and the wind zone your roof must satisfy. Ask your local building department two direct questions:
- What design wind speed applies to my address?
- Which product approvals or evaluation reports do you accept as proof the roofing system meets it?
Write the answers down. They belong in your contract.
Step 2: Verify Product Approvals Before You Sign
A roofing product that is perfectly good inland may not be approved for your wind zone. Manufacturers publish approval documents, often called product approvals, evaluation reports, or code compliance reports, that list the specific assemblies, fastener schedules, and edge details tested for a given wind speed.
Book Your Free Roof Inspection Online →
Ask your contractor to show you the approval document for the exact system they propose, and check that it covers:
- Your design wind speed
- Your roof pitch and deck type
- The fastener type and spacing they intend to use
If the contractor cannot produce the document, that is your answer.
Step 3: Pull the Permit and Keep It
The permit is not paperwork theater. It triggers the inspection that confirms the roof was installed to the code your insurer will reference if you file a claim. Skipping it can void coverage and create a disclosure problem when you sell.
Keep copies of:
- The permit application and final inspection sign-off
- The product approval documents for the installed system
- The contractor’s written scope, including fasteners and underlayment
Step 4: Talk to Your Insurer Before the Work Starts
Insurance is the half of this equation homeowners learn about too late. Carriers in coastal areas commonly apply their own roof-age thresholds, require wind mitigation features, or offer premium credits for specific construction methods.
Before you sign a roofing contract:
- Call your agent and ask what documentation they need after replacement.
- Ask whether the proposed system qualifies for any wind mitigation discount.
- Ask whether the carrier requires a specific inspection or form after the work is complete.
- Get the answer in writing, email is fine.
A documented replacement with compliant materials and a passing inspection is usually what resolves a non-renewal notice. Without the paperwork, you may be replacing the roof twice: once for you, once to satisfy the carrier.
The most expensive mistake in coastal roof replacement is installing a system that meets the manufacturer’s spec but not the local wind-load code. It looks fine, it passes a visual inspection, and then a claim is denied because the assembly was never approved for your wind zone. Verify the approval document before the first panel goes down.
A Note on Verification
Insurance Institute for Business & Home Safety publishes guidance on fortifying roofs against wind and water that many insurers reference when setting requirements. Your local building department is the authority on code; your insurer is the authority on coverage. Get both answers in writing before work begins.
Roof Inspection Checklist for Coastal Homes
A roof inspection checklist for coastal homes should cover more than the surface. Use this after every storm season.
- Check ridge caps and hip lines for lifting
- Inspect flashing at all penetrations
- Look for rust on fasteners and metal vents
The cheapest roof maintenance is a free inspection after storm season. Catching corrosion on fasteners or a lifted ridge cap early costs far less than the interior damage a slow leak causes.
Choosing a Contractor and Understanding Warranties
Ask three questions before signing: who performs the work, what’s covered, and what happens if something fails.
We’re veteran-owned and have served Eastern North Carolina since 2015, and we back every project with clear documentation. That matters when a homeowner needs to prove the work to an insurer years later.
The North Carolina licensing requirements for roofing contractors let you verify a contractor’s credentials before work begins. Do it.
Frequently Asked Questions
How do I know when my coastal home needs a roof replacement?
Watch for missing or lifted shingles after storm season, granules collecting in gutters, rusted or chalky fasteners, and daylight showing through the roof deck. If your roof is past its expected lifespan and you see multiple trouble spots, a full replacement usually costs less over time than repeated repairs. Maven Roofing offers free roof inspections to confirm what you are dealing with.
What coastal roofing materials hold up best against salt air?
Metal roofing, especially aluminum and standing-seam steel with corrosion-resistant coatings, handles salt spray better than most options. Asphalt shingles can work with proper underlayment and flashing, and resin tiles resist moisture well. The right coastal roofing materials depend on your roof pitch, exposure, and budget, so compare lifespan against installation cost before you decide.
How does salt air affect a roof over time?
Salt spray settles on shingles, fasteners, and flashing, speeding up corrosion on metal parts and drying out asphalt surfaces. Over years, that leads to loose fasteners, lifted edges, and water intrusion during storms. Rinsing your roof occasionally and scheduling annual inspections helps you catch salt-related wear before it becomes a leak.
How long does a roof replacement take on a coastal home?
Most residential replacements take one to three days once materials arrive, but coastal homes often need extra time for permit approval, wind-load verification, and deck repairs. A roof replacement timeline should include inspection, permit pull, tear-off, installation, and a final walkthrough. Ask your contractor for a written schedule before work begins.
What should I ask a roofing contractor before replacing my roof?
Ask about licensing, insurance, wind-load code compliance, manufacturer certifications, and warranty terms. Request a written scope that lists underlayment, flashing, fasteners, and disposal. Confirm whether the crew is in-house or subcontracted, and get the payment schedule in writing. A veteran-owned contractor like Maven Roofing can walk you through each item during a free inspection.
What should I inspect after a coastal roof replacement?
Walk the yard for stray nails, check gutters for granules, and look for straight ridge lines and even shingle courses. Inside, scan the attic for new leaks or daylight. Confirm flashing around chimneys and vents sits flush, and keep your warranty paperwork and permit records together. Report anything unusual to your contractor within the first week.
Will a new roof help me keep my insurance coverage?
Many insurers require roofs under a certain age or in sound condition, and a documented replacement can satisfy those requirements. Keep your inspection report, permit, and warranty on file, and notify your insurer once the work is complete. Maven Roofing provides documentation you can submit with your claim or policy review.
Coastal roofs take a beating that inland roofs never see, and guessing your way through a replacement costs more than getting it right the first time. Maven Roofing brings veteran-owned discipline to every project, with free roof inspections, coastal-specific material expertise, and roof rejuvenation services that extend lifespan when replacement isn’t yet necessary. Book your free roof inspection online and get a clear answer on repair versus replacement before the next storm season.